
10 Things Homeowners Need to Know About Drywall Installation & Repairs
- Kyle Foster'
- Jan 13
- 7 min read

Updated: Feb 27

10 Essential Insights for Homeowners About Drywall
Drywall may seem simple once it’s painted, but the truth is that what’s behind those walls is crucial. Whether you’re remodeling a room, finishing a basement, or repairing damage, understanding drywall can save you money, prevent headaches, and help you achieve a better result. Here are the 10 most important things every homeowner should know about drywall before starting a project.
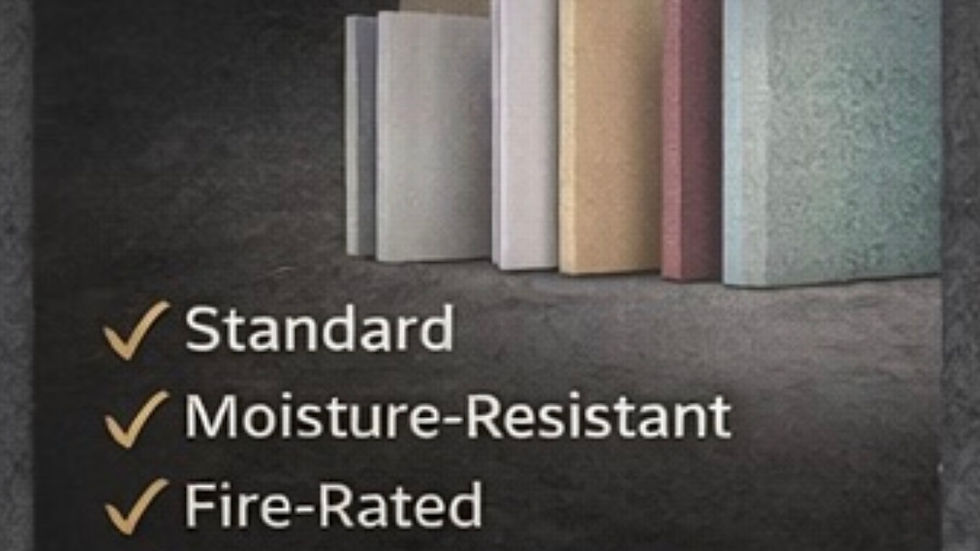
1. Not All Drywall Is the Same
Most homeowners assume drywall is just drywall, but in reality, there are several different types designed for various environments inside a home. Standard drywall is meant for dry, climate-controlled spaces like living rooms and bedrooms. Bathrooms, laundry rooms, and basements require moisture-resistant drywall that is treated to prevent mold growth and water absorption. Garages and shared walls often require fire-rated drywall to meet building codes and improve safety. Mold-resistant drywall is designed for spaces that are prone to humidity or past water issues.
Using the wrong type can lead to sagging, bubbling, stains, or even dangerous mold inside the wall cavity. Once mold develops behind drywall, it can spread throughout a home without being visible. This leads to costly remediation and potential health concerns. Proper drywall selection protects both the structure and the air quality of your home. Contractors who cut corners often use cheaper drywall in places it should not be used. Choosing the correct drywall from the start saves homeowners thousands in repairs later.
Different Types of Drywall for Your Home:
Standard drywall for most rooms
Moisture-resistant (green or purple board) for bathrooms and basements
Fire-rated drywall for garages and shared walls
Mold-resistant drywall for damp spaces
Using the wrong type can lead to mold, sagging, or failed inspections.
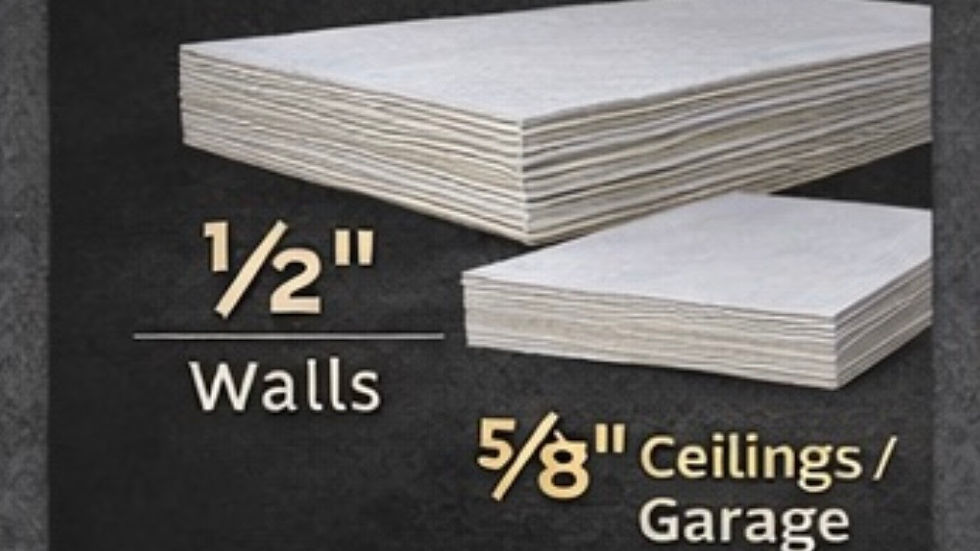
2. Thickness Matters
Drywall thickness affects strength, durability, sound control, and even fire safety. The most common thickness is half-inch drywall, which works well for most interior walls. Ceilings usually require thicker five-eighth-inch drywall to prevent sagging over time. Thicker drywall also provides better sound dampening between rooms. Fire-rated drywall uses thicker gypsum cores to slow the spread of flames. If drywall is too thin for the application, it may crack, bow, or fail inspection. Some ceilings collapse or show waves because the wrong thickness was used. Thicker drywall also holds screws better, reducing nail pops.
When contractors try to save money, they may use thinner sheets than required. This might not be visible at first, but problems show up months later. Choosing the right thickness is one of the most important steps in long-lasting drywall work.
Common Drywall Thicknesses:
½ inch – standard walls and ceilings
⅝ inch – ceilings, fire-rated walls, and garages
Thicker drywall resists sagging, blocks sound better, and meets fire codes in certain areas.

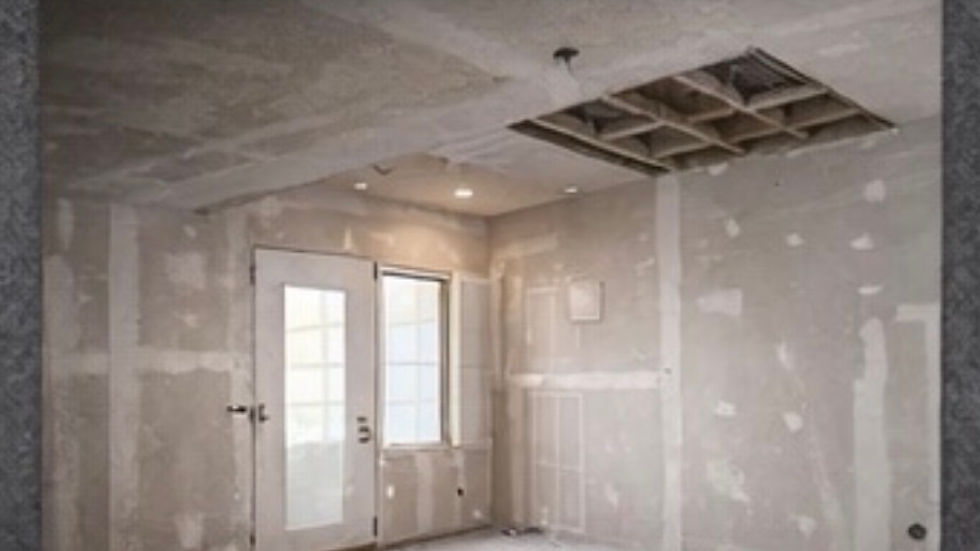
3. Drywall Is More Than Just Hanging Sheets
Many homeowners think drywall is finished once the boards are installed, but that is only the beginning of the process. The real work happens during taping, mudding, and sanding. Every seam between sheets must be taped and embedded with joint compound. Screw holes must be filled and smoothed multiple times. Corners must be reinforced with tape or corner bead and blended into the wall. Each layer of mud must dry before the next coat is applied. Sanding is done between coats to keep surfaces smooth and flat.
If this process is rushed, seams and ridges will show through the paint. Poor finishing becomes very visible once lighting hits the wall. High-quality drywall work takes time and skill. Skipping steps leads to uneven surfaces and cracks. A smooth wall always reflects careful finishing, not just proper installation.
Professional Drywall Finishing Includes:
Taping seams
Applying multiple coats of joint compound
Sanding between coats
Feathering edges for smoothness
This process determines whether your walls look flawless or full of bumps and shadows.

4. The Finish Level Affects How Your Walls Look
Drywall finishing is graded on a scale from Level 0 to Level 5. Level 0 is bare drywall with no finishing at all. Level 1 is taped but not smoothed, typically used in garages or behind tile. Level 2 adds a light coat of mud and is used where heavy textures or tile will go. Level 3 is prepared for heavy texture finishes like knockdown. Level 4 is the standard for smooth painted walls in most homes. Level 5 includes a full skim coat over the entire surface for ultra-smooth finishes.
Flat paint, bright lighting, and modern design require Level 5 to avoid shadows and flaws. If the finish level is too low, paint will reveal every seam and defect. Many homeowners don’t realize they need higher finish levels until it’s too late. Choosing the right finish level determines how professional your walls will look.
Drywall Finish Levels:
Level 0–2: Basic utility areas (garages, behind tile)
Level 3: For textured walls
Level 4: Standard smooth walls, ready for paint
Level 5: Premium smooth finish for bright lighting or flat paint
Most homes need *Level 4, while modern, high-end spaces often require Level 5
.
5. Corners and Openings Drive Labor Cost
Drywall pricing is not just about square footage; it is about complexity. Every corner requires extra taping, mudding, and sanding. Door and window openings require precise cuts and additional finishing. Electrical boxes, vents, and light fixtures all require cutouts and extra labor. Each cutout interrupts the flow of drywall installation. Corners require reinforcement to prevent cracking. The more detailed a room is, the more time it takes to finish properly.
A simple open basement costs less than a room with many doors and windows. Estimators must count these features to price the job accurately. Ignoring these details leads to underpriced projects and rushed work. Good drywall contractors always account for corners and cutouts.
Labor Costs Increase With:
Inside and outside corners
Doors and windows
Electrical boxes
Vents and light fixtures
A room with lots of cutouts takes much longer than an open, square room.
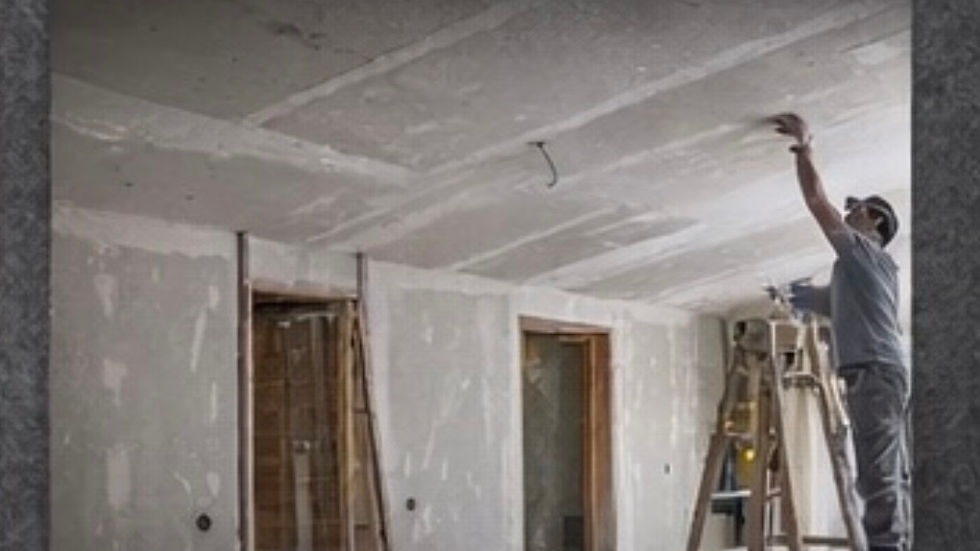
6. Ceilings Are More Work Than Walls
Ceilings are physically harder and more dangerous to drywall than walls. Sheets must be lifted overhead, which requires extra labor and often multiple workers. Gravity works against the installer when securing ceiling drywall. More screws are needed to keep sheets from sagging. Ceiling joints also require more careful finishing to prevent visible lines. Light fixtures and vents add even more cutouts. Vaulted or tall ceilings make the work even more difficult. Ceiling drywall also typically requires thicker sheets.
Because of all this, ceiling drywall costs significantly more than walls. When contractors price ceilings the same as walls, quality usually suffers. Professional ceiling drywall work protects against sagging and cracking long term.
Ceiling Drywall Requires:
Lifting heavy sheets overhead
More fasteners
More finishing work
Often thicker drywall
That’s why ceiling drywall usually costs 25–40% more than walls.

7. Poor Framing Leads to Poor Drywall
Drywall can only be as straight as the framing behind it. If studs are bowed or uneven, drywall will follow those imperfections. This leads to wavy walls and crooked seams. Even the best drywall finisher cannot hide poor framing. Professional contractors check framing before installing drywall. They may shim or plane studs to create a flat surface. This extra step makes a huge difference in the final appearance.
Skipping this step saves time but causes visible defects. Uneven walls are especially noticeable in bright lighting. Good framing ensures drywall looks clean and professional. Proper prep prevents cracks and alignment problems later.
Effects of Poor Framing:
Wavy walls
Cracks
Visible seams
A professional contractor will check framing and make adjustments before hanging drywall.
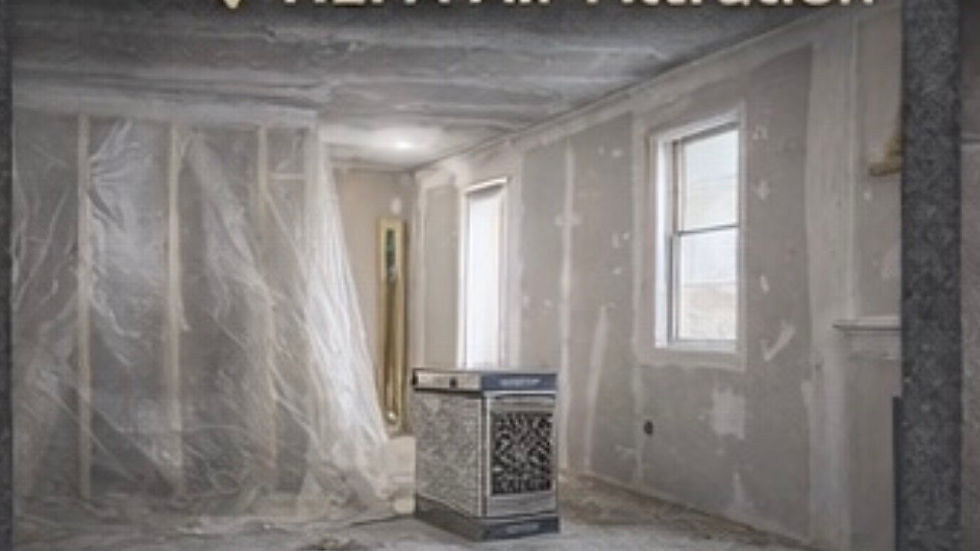
8. Dust Control Matters
Drywall sanding creates extremely fine dust that spreads throughout a home. This dust can enter HVAC systems and settle on furniture and electronics. Breathing drywall dust is harmful, especially for children and people with allergies. Professional contractors use plastic barriers and air filtration to contain the dust. HEPA filters capture fine particles and keep the air clean. Without containment, drywall dust can linger for months. Cleanup is much more difficult if dust is not controlled.
Homeowners often underestimate how messy drywall can be. Dust control protects both your health and your home. Clean job sites also reflect professional workmanship. Quality drywall includes both smooth walls and a clean environment.
Dust Control Measures Include:
Plastic barriers
Zip walls
HEPA air filtration
This protects your home, furniture, and HVAC system.

9. Drywall Must Be Done Before Flooring and Trim
Drywall should always be completed before painting, flooring, cabinets, and trim. The process is messy and involves heavy tools, dust, and materials. If drywall is done after finishes, those finishes can be damaged. Paint can be scratched, floors can be stained, and cabinets can get dusty. Proper sequencing protects your investment. Drywall creates the base for everything that comes after. Skipping proper order leads to extra cleanup and repairs.
Professionals schedule drywall early in the project. This keeps later work clean and efficient. Rushing drywall to fit around finished surfaces always leads to problems. Proper timing is just as important as good installation.
Drywall Should Be Completed Before:
Flooring
Cabinets
Trim
Painting
Doing it out of order can ruin finishes and increase costs.
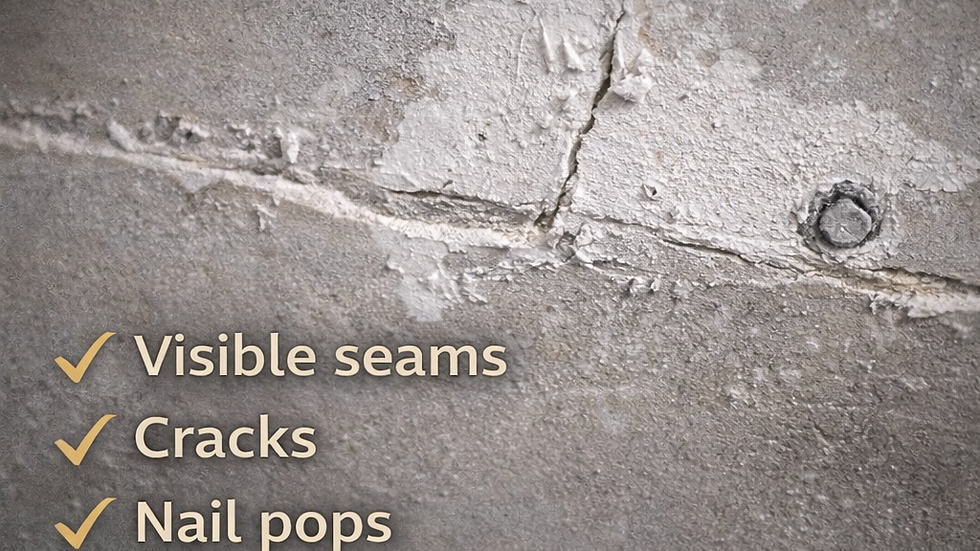
10. Cheap Drywall Work Gets Expensive Fast
Low-quality drywall work shows up quickly after a job is finished. Seams become visible, cracks appear, and nail pops push through paint. Walls may look wavy or uneven under lighting. These problems reduce the value and appearance of your home. Fixing bad drywall usually requires sanding, re-mudding, and repainting. In many cases, drywall must be replaced entirely. This costs far more than doing it right the first time.
Cheap labor often means rushed work and skipped steps. Homeowners end up paying twice for the same project. Quality drywall lasts for decades without problems. Investing in proper drywall installation protects your home long-term. Professional work always saves money over time.
Consequences of Low-Quality Drywall:
Visible seams
Cracks
Nail pops
Wavy walls
Poor paint finish
Fixing bad drywall usually costs more than doing it right the first time.
Thinking About a Drywall Project?
At Superior Home Renovations, we specialize in professional drywall installation and finishing — from small repairs to full basements and remodels.
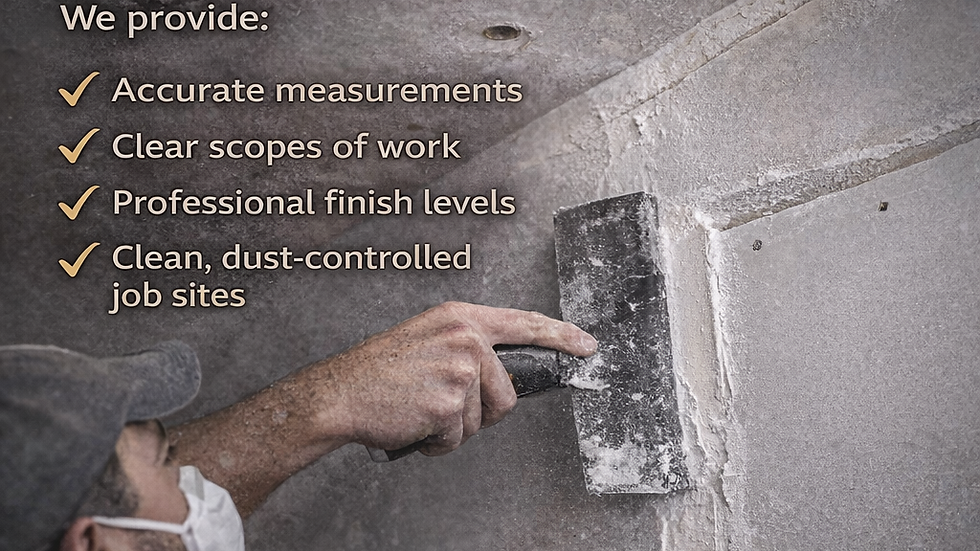
We Provide:
Accurate measurements
Clear scopes of work
Professional finish levels
Clean, dust-controlled job sites


Comments